
Running a headless Linux server means no desktop, no browser, and no GUI to click through. But that does not stop you from enrolling it into Cloudflare Zero Trust. The whole process can be done entirely from the terminal using warp-cli and an authentication token generated from a browser on any other machine.
This guide walks through the full enrollment process, plus optional but highly recommended configuration for Local Domain Fallback and Split Tunnels to keep your LAN traffic and internal DNS working correctly after WARP connects.
Prerequisites #
Before starting, make sure the following are in place:
- The
cloudflare-warpclient is installed on your Linux server. If not, follow the official installation guide at pkg.cloudflareclient.com. - You have access to the Cloudflare Zero Trust dashboard with an account that belongs to your organization.
- The server has outbound internet access.
Step 1: Initiate WARP Registration #
On the server terminal, run the following command to start the registration process for your Zero Trust organization:
warp-cli registration new <orgname>Replace <orgname> with your Zero Trust team name. This is the subdomain of your organization’s access URL. If your dashboard URL is zrvteam.cloudflareaccess.com, the team name is zrvteam.
This command prepares the client for enrollment but cannot complete it on its own because authentication requires a browser login.
Step 2: Login and Grab the Token from a Browser #
From any other machine with a browser, open:
https://<orgname>.cloudflareaccess.com/warpSign in using your organization account — this could be a Google account, email OTP, or whichever identity provider your Zero Trust organization is configured with.
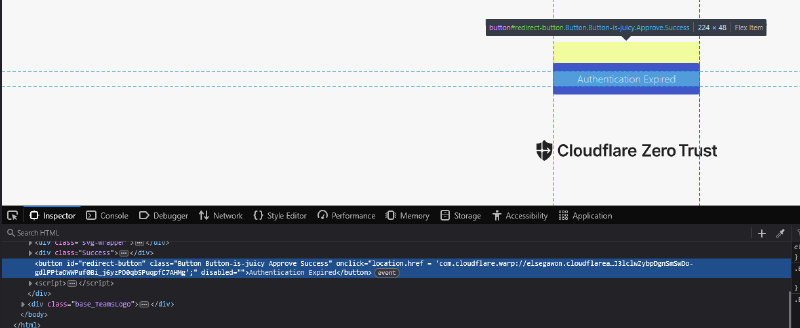
After a successful login, the page will display a confirmation token that looks like this:
com.cloudflare.warp://<orgname>.cloudflareaccess.com/auth?token=...Copy the entire string, starting from com.cloudflare.warp:// to the very end. This token is time-limited, so move to the next step quickly.
Step 3: Register the Token on the Server #
Back in the server terminal, paste the token into the following command:
warp-cli --accept-tos registration token "com.cloudflare.warp://<orgname>.cloudflareaccess.com/auth?token=..."Wrap the full token in double quotes. If the token is still valid, the server will be enrolled into your Zero Trust organization immediately.
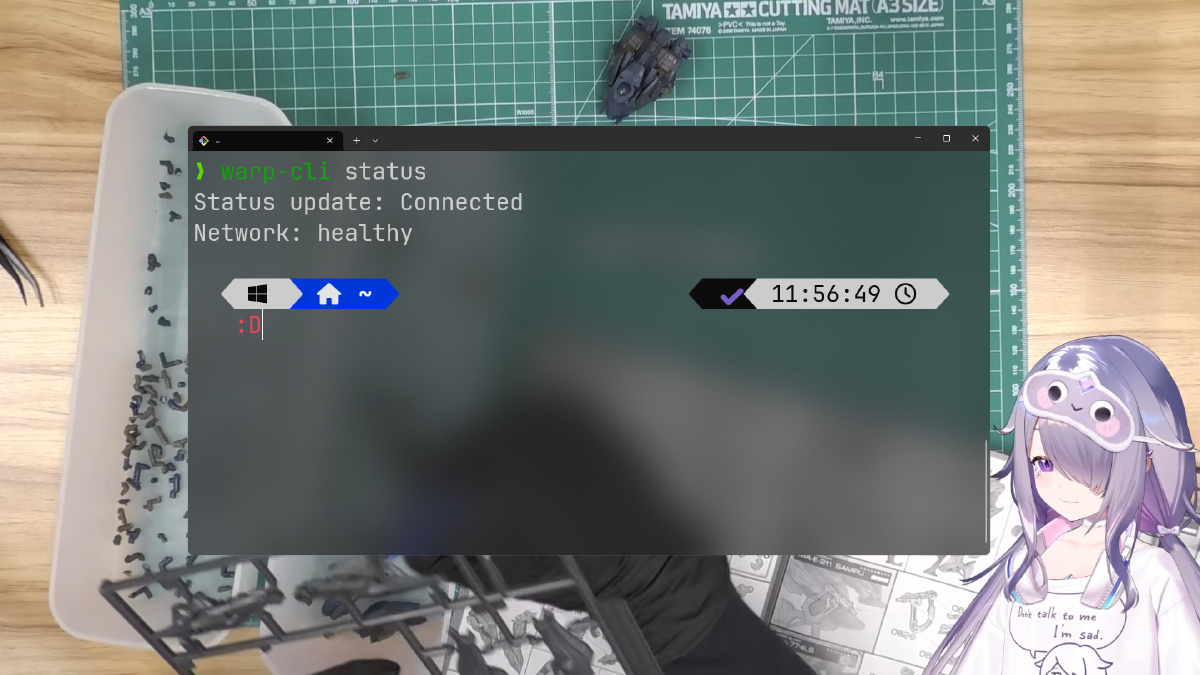
Verify the result:
warp-cli statusThe output should show Connected or Registered.
Step 4: Configure Local Domain Fallback (Recommended) #
If you have an internal domain — for example home.zrv.my.id resolved by a local DNS server — you need to set up Local Domain Fallback. Without it, WARP will send all DNS queries through Cloudflare’s resolver, and your internal domain will fail to resolve.
To configure this in the Cloudflare Zero Trust dashboard:
- Go to Settings > WARP Client > Device profiles.
- Select the profile assigned to your server and click Edit.
- Scroll to the Local Domain Fallback section.
- Click Add domain and fill in:
- Domain:
home.noorkhafidzin.com(use your actual internal domain) - DNS Servers:
10.1.1.200, 10.1.1.1(your local DNS server IPs, comma-separated)
- Domain:
- Save the profile.
With this in place, DNS queries for *.home.noorkhafidzin.com will be forwarded to your local DNS servers instead of Cloudflare’s resolver.
Step 5: Configure Split Tunnels to Exclude LAN Traffic #
By default, WARP tunnels all outgoing traffic — including traffic to local IP addresses like 10.1.1.x. This can break direct LAN communication if your server needs to reach other devices on the local network without going through the tunnel.
To exclude your LAN subnet from the tunnel (using Exclude mode):
- In the same device profile, locate the Split Tunnels section.
- Confirm the mode is set to Exclude.
- Click Add IP/CIDR and enter
10.1.1.0/24(adjust to match your LAN subnet). - Save the profile.
Once active, traffic destined for 10.1.1.0/24 will bypass the WARP tunnel and go directly through the local network interface.
Note: Dashboard changes can take a moment to propagate to enrolled devices. If changes are not reflected immediately, try running
warp-cli disconnect && warp-cli connecton the server to force a re-sync.
Troubleshooting #
Token expired or invalid
Authentication tokens have a very short lifespan. If the registration token command fails with an error, repeat Steps 1 and 2 to generate a fresh token.
WARP status stays Disconnected
Check if the WARP service is running:
sudo systemctl status warp-svc
sudo systemctl start warp-svc
Internal DNS does not resolve after WARP connects
Double-check that Local Domain Fallback is saved under the correct active profile. The fallback only applies when WARP is connected, so make sure the tunnel is up before testing resolution.
Summary #
| Step | Command / Location |
|---|---|
| Initiate registration | warp-cli registration new <orgname> |
| Auth URL | https://<orgname>.cloudflareaccess.com/warp |
| Register token | warp-cli --accept-tos registration token "com.cloudflare.warp://..." |
| Check status | warp-cli status |
| Local Domain Fallback | Zero Trust Dashboard > Device Profiles > Edit |
| Split Tunnel exclude | Zero Trust Dashboard > Device Profiles > Split Tunnels |
That covers the full workflow for enrolling a headless server into Cloudflare Zero Trust without touching a mouse. Paired with Local Domain Fallback and Split Tunnel exclusions, your internal DNS and LAN traffic keep working exactly as expected alongside the WARP tunnel.