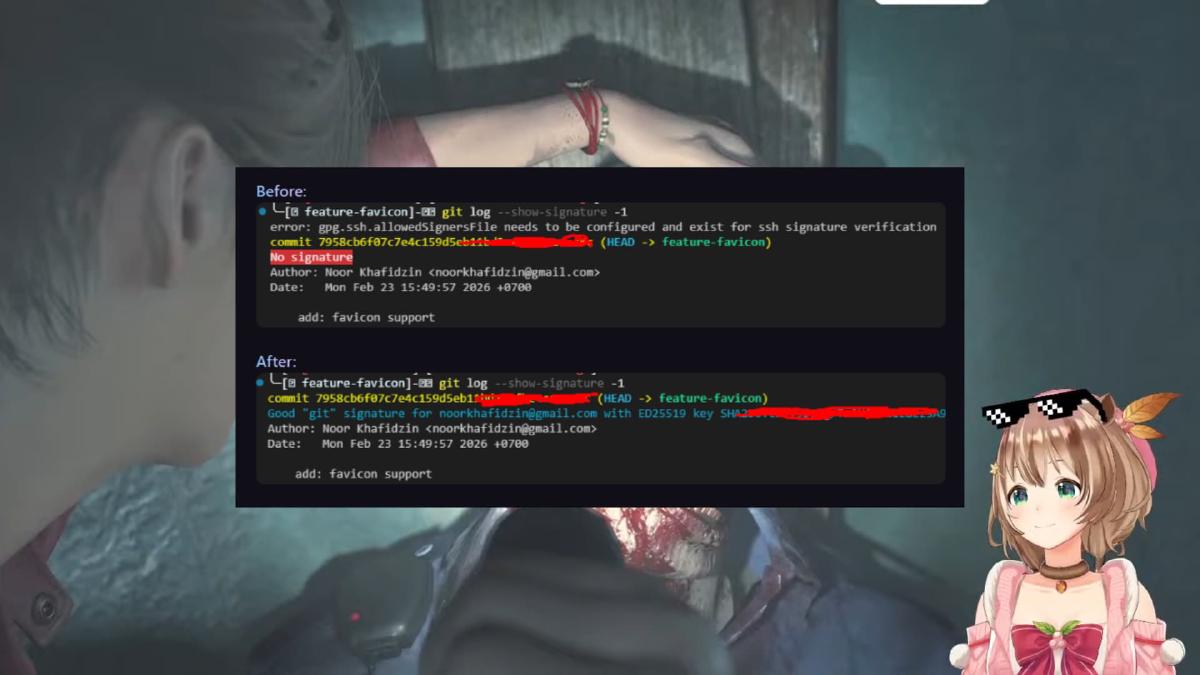

Have you ever tried to create a Pull Request (PR) only to have it rejected because the commit does not have Verified status? Or when running git log --show-signature, you instead see the error message gpg.ssh.allowedSignersFile?
Below is a step-by-step guide to configuring SSH Signing so that your commits are officially recognized by Git and platforms like GitHub.

Before diving deeper into security and commit verification, make sure you have properly organized your Git account management on your device. If you are still struggling to separate work and personal projects, you may want to read the following article:
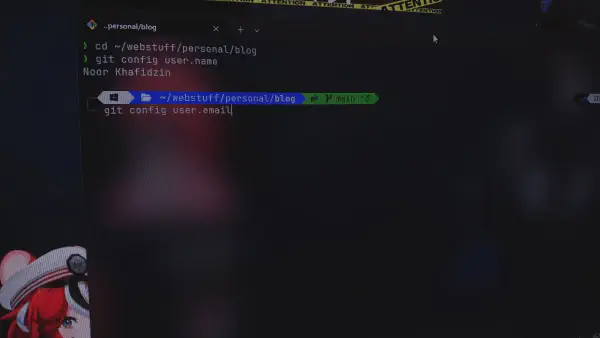
Managing Work and Personal Git Profiles on The Same Machine
1. Why Is My Commit “Unverified”? #
By default, Git does not sign commits. Anyone can change their name and email to yours in their local configuration. A signature (digital signature) proves that the commit was actually created by the legitimate holder of the SSH key.
2. SSH Signing Configuration Steps #
If you choose to use SSH (instead of GPG) to sign commits, follow these steps:
A. Tell Git to Use SSH #
Open your terminal and run the following global commands:
git config --global gpg.format ssh
git config --global commit.gpgsign true
B. Specify Your Signing Key #
Point Git to the Public Key you want to use (usually the .pub file):
git config --global user.signingkey ~/.ssh/id_ed25519.pubC. Configure Local Verification (allowed_signers)
#
So that your local Git can verify your own signature (when running git log), you need to create a file containing a list of trusted signers.
-
Create the
allowed_signersfile:# Replace the email with your Git email echo "[email protected] $(cat ~/.ssh/id_ed25519.pub)" > ~/.ssh/allowed_signers -
Register the file in Git:
git config --global gpg.ssh.allowedSignersFile ~/.ssh/allowed_signers
3. Handling Multiple Accounts (IncludeIf) #
If you have Personal and Work/Alternate accounts on the same device, use the includeIf feature inside your ~/.gitconfig file so that the signature matches the account being used.
Example ~/.gitconfig content:
[user]
    name = Main Account
    email = [email protected]
    signingkey = ~/.ssh/id_main.pub

[includeIf "gitdir:~/work/**"]
    path = ~/.gitconfig-work

[gpg]
    format = ssh
[gpg "ssh"]
    allowedSignersFile = ~/.ssh/allowed_signers
Example ~/.gitconfig-work content:
[user]
    name = Work Account
    email = [email protected]
    signingkey = ~/.ssh/id_work.pub
Important: Make sure to use
**at the end of the path so Git recognizes all subdirectories within it.
4. Fixing a Commit That Was Already Created #
If you have already made a commit but forgot to sign it (causing the PR to be rejected), you do not need to delete the commit. Simply “re-sign” the latest commit with the following command:
git commit --amend --no-edit -SAfter that, perform a force push (if it was previously pushed):
git push --force-with-lease5. Final Verification #
To ensure everything is working, run:
git log --show-signature -1If you see output like the one below, congratulations! Your commit is now verified.
Good "git" signature for [email protected] with ED25519 key ...
FAQ #
-
Q: I’ve configured everything but GitHub still shows “Unverified”?
- A: Make sure your SSH Public Key has been added to the “SSH and GPG Keys” section in your GitHub Settings, and select “Key type: Signing Key”.
-
Q: I see the
gpg.ssh.allowedSignersFileerror?- A: This happens because the
allowed_signersfile has not been created yet or the path is incorrect in yourgit config.
- A: This happens because the